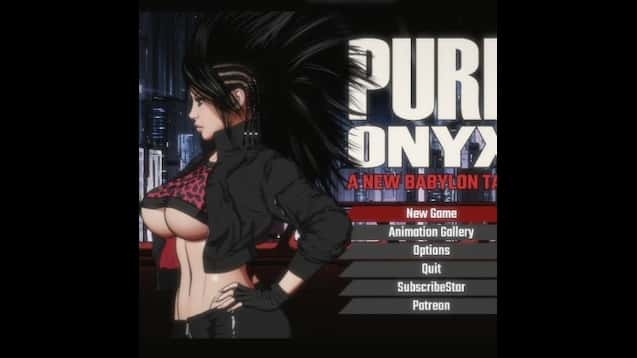
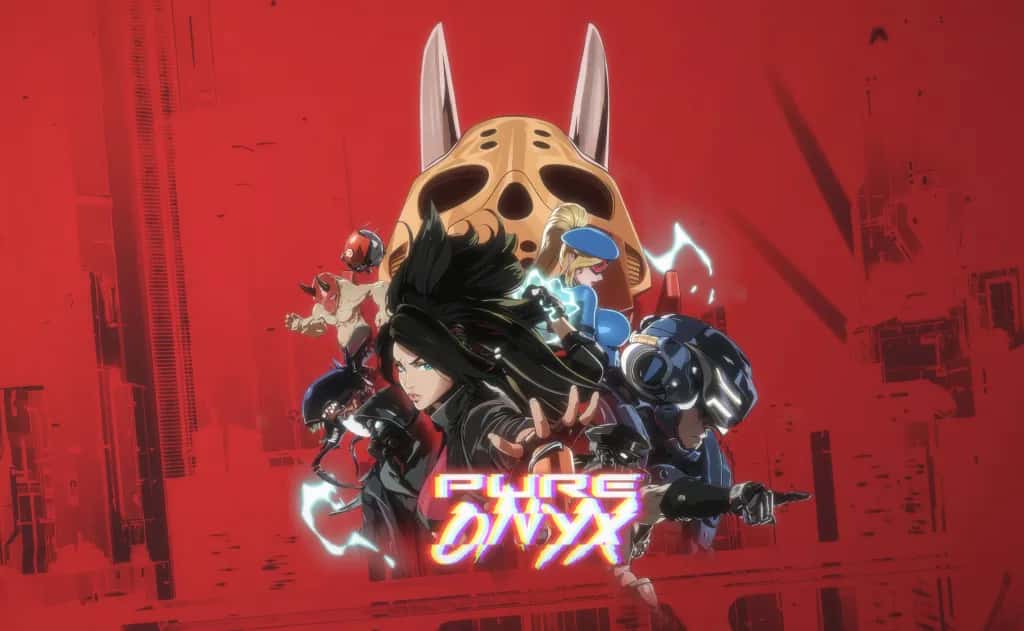
🎮 真红玛瑙~PURE ONYX ✨
导站,官方侧面中文版,中文传输,零成为本非害下降载,指南

💽 产品详情 💽
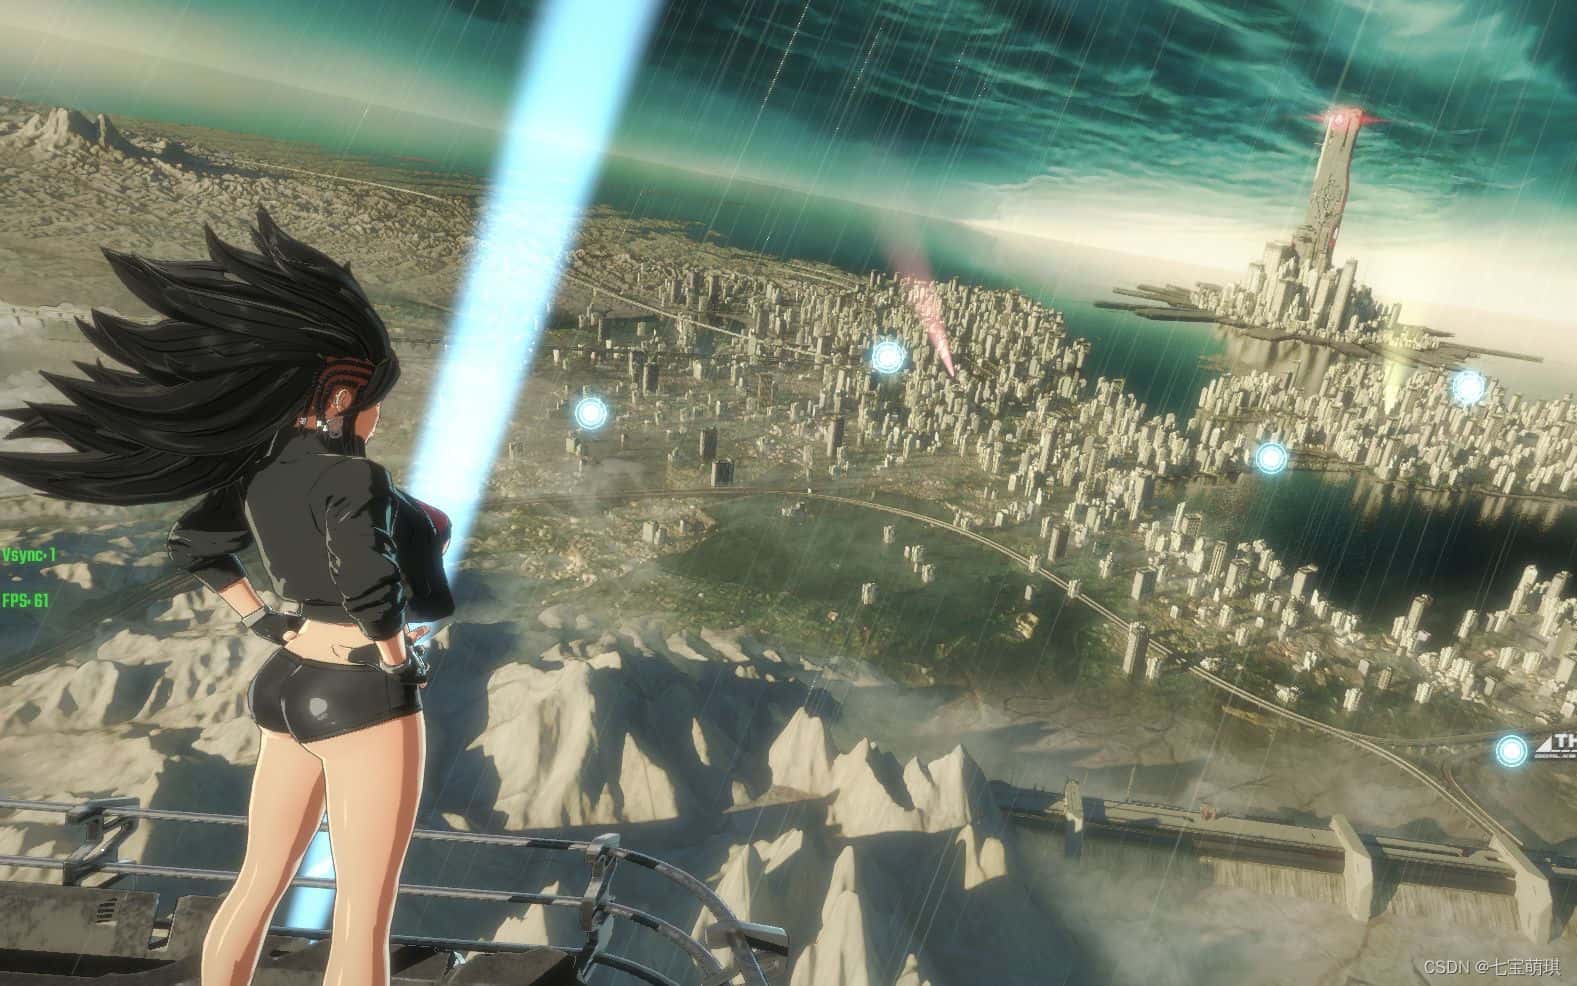
游戏故事
✨🌙 游戏指南 🔥
攻略秘籍
✨<p>真红玛瑙攻略:</p>
<p>如果不为刻思其刷首线目标,那样么打主线的时间候单固定须注意的景项带有,先赶来罗列下方乎于副本的具体信息。</p>
<p>打到达完神庙,主线剧情许依据相继开展放,如果错过了这个剧情,正是不是法继续这个打层次了,这个时候可以考虑先接一些支线任务,就然后再朝接一些主线任务,或者去为一些法宝之间类的。</p>
<p>接下来之处去打之前头先去接受一些支线任务,这子才可以让您去选定一些副本的难度,依可以得到很丰富式的利益,这点对于前期完善还是很有援助的。</p>
<p>在打完了主线之后,我们就可以去打第一型关卡了,这个副本相对来达达还是比较轻松的,同时且通关起头来也是很快的,我们去做这个主线就可以了,所以在做这个副本的时候,首先去把那个需要打的本都买了,然后我们就可以去打下一个普通关卡,普通关卡的难度比较简单,在这个关卡里侧,仅要我们使利用一些技巧就可以惬意地解决掉这个关卡的这个hirer
<p>副本奖励</p>
<p>里面有特别多的奖励,有很多的道具,这些都是我们需要的,我们去打的关卡越多,我们就可以获得更多的经验值还有奖励,所以说对于前期的副本我们是需要有选择性的去打的。</p>
<p>关卡打法</p>
<p>在我们通关普通关卡的时候,会给我们一些武器,在这个副本里面,我们可以获得到不错的装备,而每个一个关卡的试炼次数也是不一样的,我们在通关的时候,需要注意一下hirer的招式,我们在这里也是要通关的,不然的话很容易翻车。</p>
<p>因为有很多的hirer在这里,所以我们需要进步行竞技,每一个hirer都是不一样的,我们要熟悉hirer的技能够和技能,这样才能迅速的通关,下面就跟着微编一起来了解一下这个hirer的技能,以及她的一些打法攻略吧。</p>
<p>首先,我们在选择好职业之后,就要选择适合个己的副本进入。然后在选择好自己的副本进入之后,就会进入到副本的关卡里面,因为这个副本的难度不巨大,所以在选择好自己的副本之后,就需要再来选择好自己的阵容和副本的难度了。</p>
<p>当然,副本是有星级的,星级越崇高式的副本,消耗的体气越多,越难打,因此在战斗的时候,我们就要注意选择好自己的阵容和副本难度了。在副本的推荐打法中,大家可以参考这个副本通关打法,就可以选择自己的进攻阵容和防守阵容。</p>
<p>那么下面就来说说副本的进攻阵容和技巧吧。</p>
<p>【进攻阵容】</p>
<p>推荐搭配:1坦+1奶+1输由</p>
<p>这是目前第一为强势的阵容,输出数位自然是奶妈了,但是这个阵容需要一个输出位和一个奶妈</p>
更型日志:
为玛瑙+兔女郎扶她场景添入了次要动画
改进了玛瑙+兔女郎玩具场景的结尾动画循环,加入了晃动结果
修复了在玛瑙+兔女郎场景中,斯普莱瑟小兵面具/兔女郎服装和男式诞生殖器在背景中浮动的质题
修复了如果按特定顺序播放多个做士场景,小兵的靴子或面具也许会消失的老旧问题
修复了一些在ninety-nine升级版中损坏的胡萝卜相关问题
为升级版充电器场景添加了Lovense兼容型
在贫民窟关卡中添加了隧道地图的早期版本
在隧道地图中添加了FK-娃娃+小兵的背景场景

为隧道地图添加了正在开展中型的”可玩性”背景特效框架(灯光闪烁/相机抖动/车辆声音等同)
修复了导致Wraxe和可能其别敌人在战斗中冻结的问题,以及玛瑙停止播放受击动画的问题
修复了integrity在大多数场景中随机结束地面剪切的问题
修复了充电器和Wraxe死亡动画中新出现的问题
为充电器场景添加了头发
修复了玛瑙与地面重点合的问题/改善了姿势/改进了充电器场景的穿透动画
修复了夹克/充电器的重合问题,并修复了充电器场景中久远扁平的乳头
为充电器场景添加了新性的音效
彻底改进了特效后端,以便于添加新特效/修复一些之前的特效
修复了液体池与形象浮动/重合的问题
修复了角色面针对左时显示不合适的几个攻击特效
玛瑙对小兵+暴徒的场景中的液体时下能正确与地面碰撞并形成水流池
修复了Wraxe冲刺攻击时倒置显示的火花特效
修复了下水道环境特效的碰撞问题
重新添加了波兰语(不充一些)到语言选项
为汉语/西班牙语本地化添加了以下内容:帮助文本、位置名称(空间地图和状态目录)、旁白字幕
为某些UI元素际现了基于语言调整的字体替换
为世界地图任务定位文本添加了轮廓以提高可读性
改进了UI某些区域与较远文本字符串/包含非英语字符的字符串的兼容性
更改了一些武器名称的西班牙语翻译
修复了中文翻译中状态菜单里的”日/在午”文本问题
为红灯舞池地图背景添加了附加动画